Double Hutch Cover Instructions
It is important that you follow these instructions closely otherwise, you may find it difficult to fit it for the first time.
The Double is a tight fitting cover. It has been specifically designed like this for a reason.
But over time you'll find that the covers stretches a little and fitting it becomes quite straight forward especially after you have done it a few times.
Initially on unpacking the cover out of the bag you'll find it quite rigid. This is because the material and clear plastic we have used are quite thick and the cover has been folded like this for some time.
So we recommend that you first put the cover in a warm place for a few hours before you try to unfold it. This could be next to a radiator or in a warm sunny spot.
Unpacking The Cover
Take care when unpacking.
Do not try and forcefully unfold the cover at any stage as this could end up damaging the plastic.
If you are fitting the cover in the cooler months of the year then we recommend that you use a hairdryer on a low to medium heat to help slightly expand the material and plastic to make it easier to work with.
(You could also use the heat from a radiator if you do not have a hairdryer to hand.)
When you take this extra step you'll find that the cover becomes much easier to handle, unfold from the bag and generally easier to fit too.
*TIP* The Double Hutch cover can be fitted by one person but if you can get a 2nd pair of hands to help it will make it a little easier.
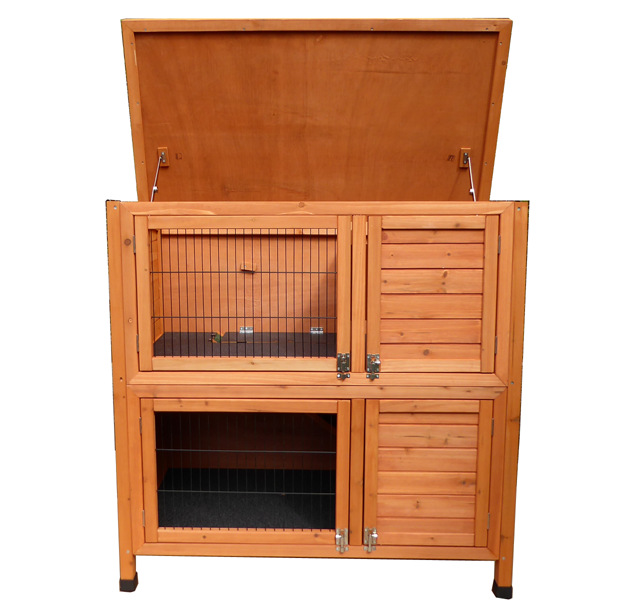
Step 1:
Open up the roof of your Double Hutch.
Step 2:
Start by lining up the front of the cover with the front of your hutch and then secure the top left side of the cover over the top corner of the front of your hutch.
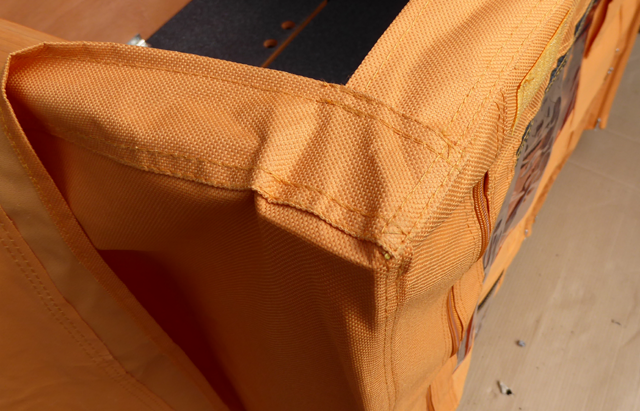
The repeat the same process for the right side pulling tight. Make sure the sewn corners of the hutch sit in line with the top corners of the hutch
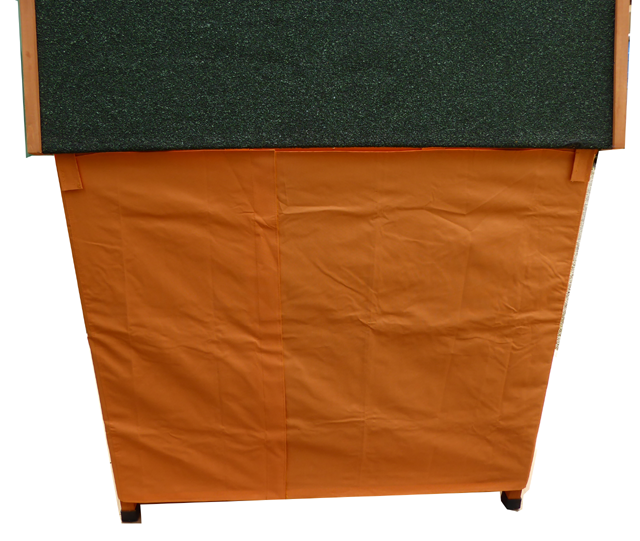
If done correctly the cover will look something like this:
Step 3:
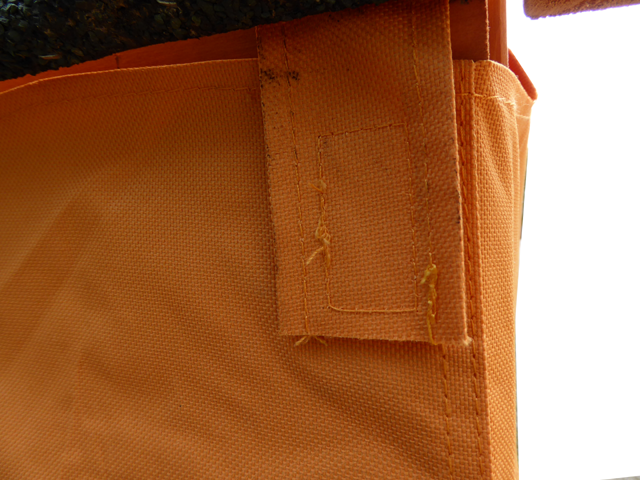
Next wrap the cover around the hutch and secure it temporarly using the velcro strip. This then frees up your hands and allows you to finish the fitting process.
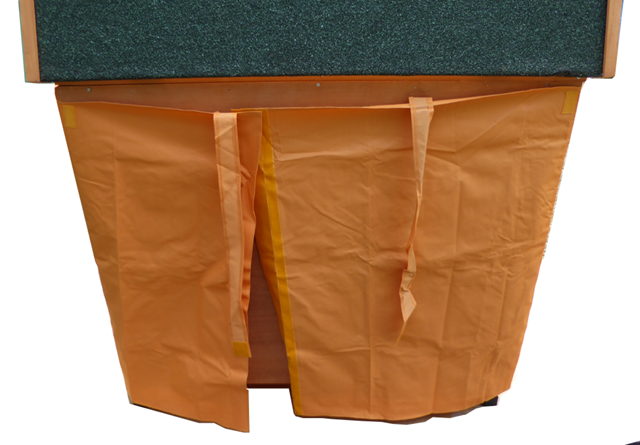
Step 4:
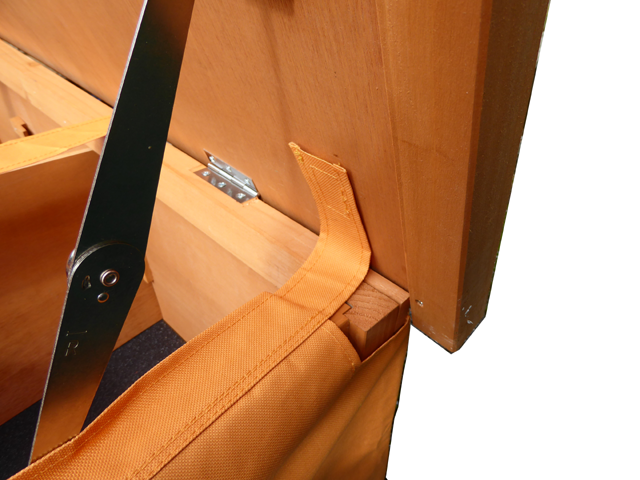
The two straps that hang down (see image above) need to be carefully pushed through the gap between the roof and the back of the hutch.
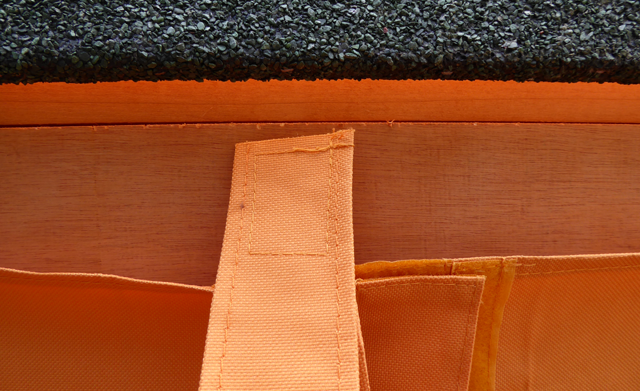

Step 5:
Secure the two straps to the front of the cover.
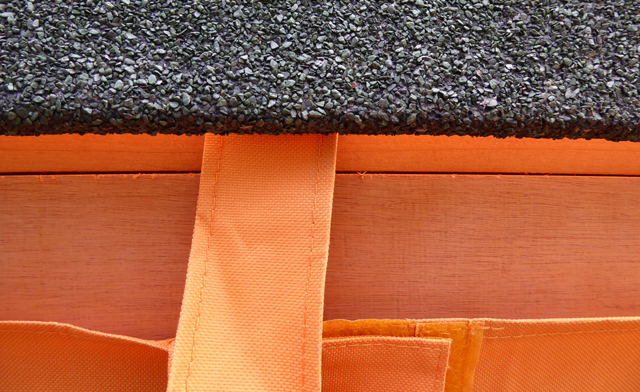
Step 6:
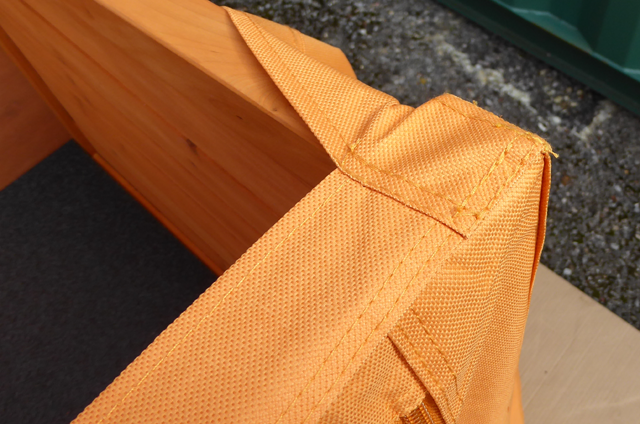
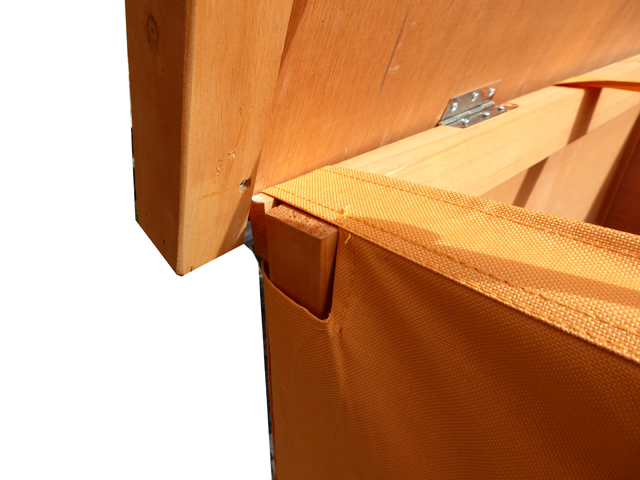
Next, carefully push the two small straps at the back side of the cover through the gap between the roof and the back of the hutch. You will need to hold the roof at a 45 degree angle to allow you to do this.
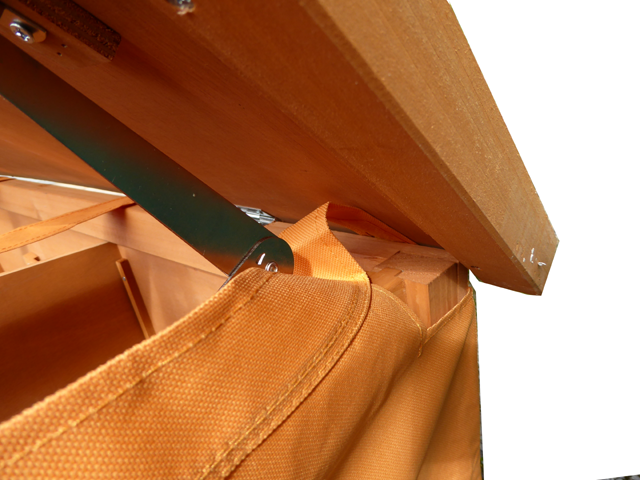
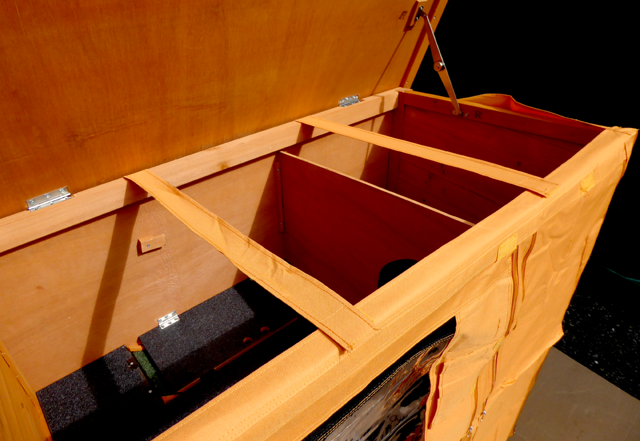
Repeat the same process for the other side and secure the strap using the little Velcro strip.
Once finished it should look like this:
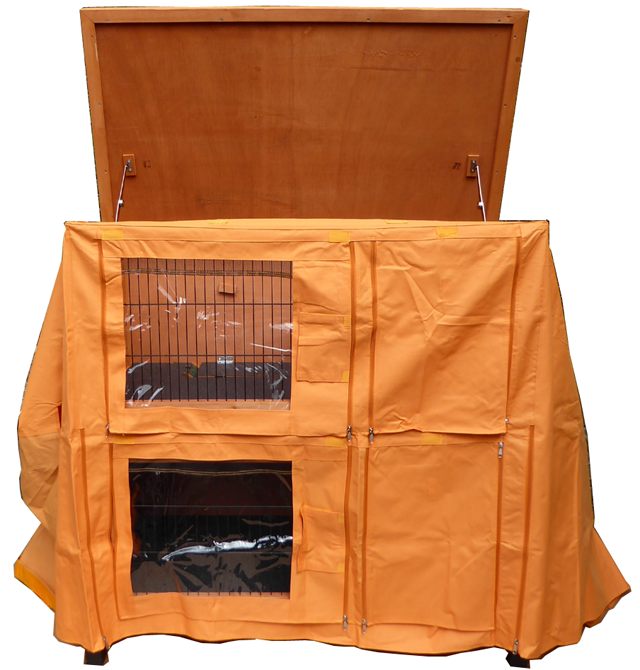
Step 7:
Finally, making sure that the hutch cover corners are properly fitted and the sewn side corners of the cover line up with the corners of the hutch pull tightly and secure the cover at the back using the Velcro strip. This is where a second pair of hands comes in handy.

Manufacturers And Our Recommendations:
- In warm weather your hutch can get dangerously hot if the cover is left on. We recommend that you remove your cover during warm weather.
- We also recommend that you allow your cover and hutch to air out regularly, especially after long periods of wet or damp weather. Failure to do so can result in a build-up of mold and cause the cover to degrade at a much faster pace.
- During periods of prolonged rain, the hutch cover will become saturated
and the inside of the cover can become wet. To prolong the life and
enhances the performance of your hutch cover especially during wet periods
the manufacturer recommends Nikwax
.
- Damage to your hutch cover caused by chewing is not covered under the manufacturer's guarantee. Please look at the important info on the Advice tab